We left off with waiting for the paint on the upper fairing to dry before removing the masking tape … again. This time it came out great so I got on with making a white number plate. I wasn’t sure whether to put the plate off to one side as there aren’t as many curves or corners on the side but I decided it would look better in the middle. The first two attempts ended up with loads of wrinkles on one side, then I realized that I would have to cut the pieces out that go over the headlight blanks.

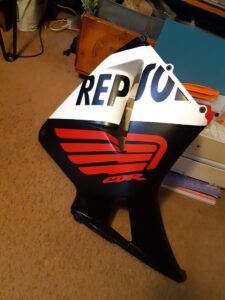
With that done I moved on to the side panels. After sanding I started with painting the white stripe as it is easier to paint black over white than the other way round. It took quite a few coats to get it covered properly, then once it had dried I masked off the white stripe I wanted and painted the black areas – here they are in the ‘paint booth’.

Then the wife very kindly let me use her Silhouette Cameo to make some Repsol stickers, they were a bit of a bind to put on but not too bad. I never intended to try and copy the Repsol paint scheme exactly but wanted to put some red underneath the white stripe in a sort of semi-circular shape like the pukka paint job that would tie in with the red stripe on the seat unit. I came up with some modified Honda wings.

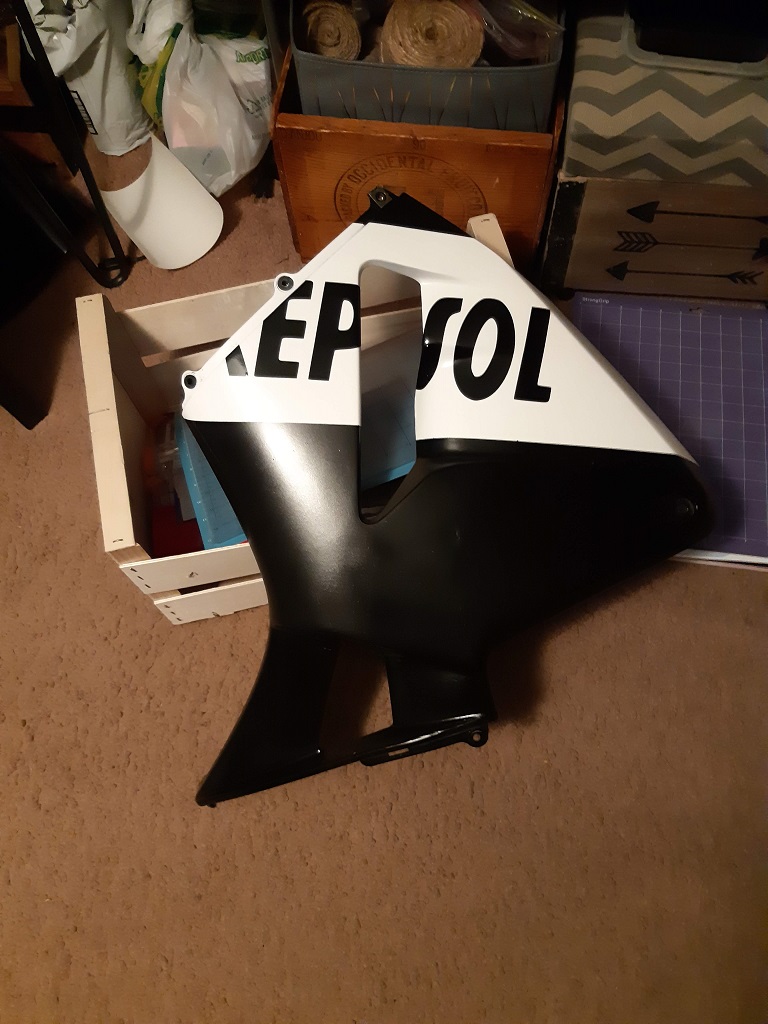

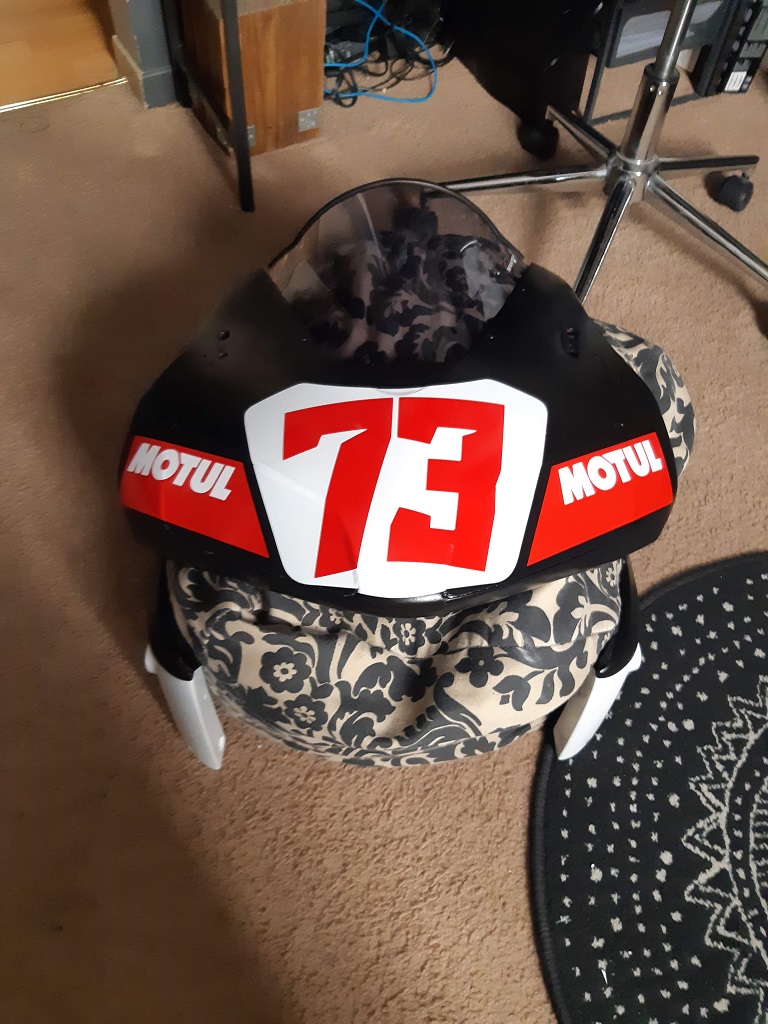
To round off the bottom I added a CBR logo before applying a couple of coats of clear coat. I wanted to clear coat the upper fairing as well before putting the numbers on so I could change numbers if I need to. I also wanted to put a couple more stickers on the front but wasn’t sure how they would come out so figured I’d put them on after clear coat just in case. I found a couple of Motul stickers in my keep sake box, they must be about 25 years old so I figured it was about time I used them!
The windshield that came with the bike did not fit properly and the one in the pic above was picked up with a belly pan and while it was a better fit than the first one, it still wasn’t right but the clear one I ordered off ebay arrived that fits perfectly – after I cut the blank plate I had made based on the first screen.
I cut the headlight connectors off the wiring harness at the front and then had to sort out a mount for the level sensor (aka tip over sensor). I decided not to delete it after talking to Danny about the risks of oil starvation or having the rear wheel grinding away at part of my body after a crash. I grabbed a piece of steel plate but could not see an easy way to mount it so decided to 3D print a mount instead.

Drawn up in CAD 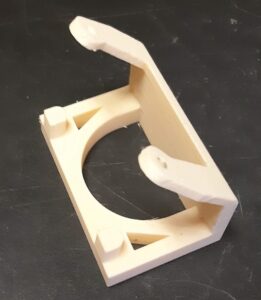
Fresh off the 3D printer 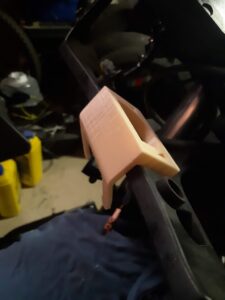
Fits under the gauges 
Installed in position


The gauges are mounted on rubber grommets to absorb some vibration I assume, it occurred to me last night that using the gauges to clamp the sensor mount would cause the vibrations to be transmitted through the mount. It might not be an issue but I have re-designed the mount so it’s thinner under the gauges and will most likely put some double sided tape on to hold it in place if the pins at the back don’t secure it.
Had to install the upper and left side fairings to see how it will look, lots of little imperfections if you look up close but I’m extremely happy with it!!


